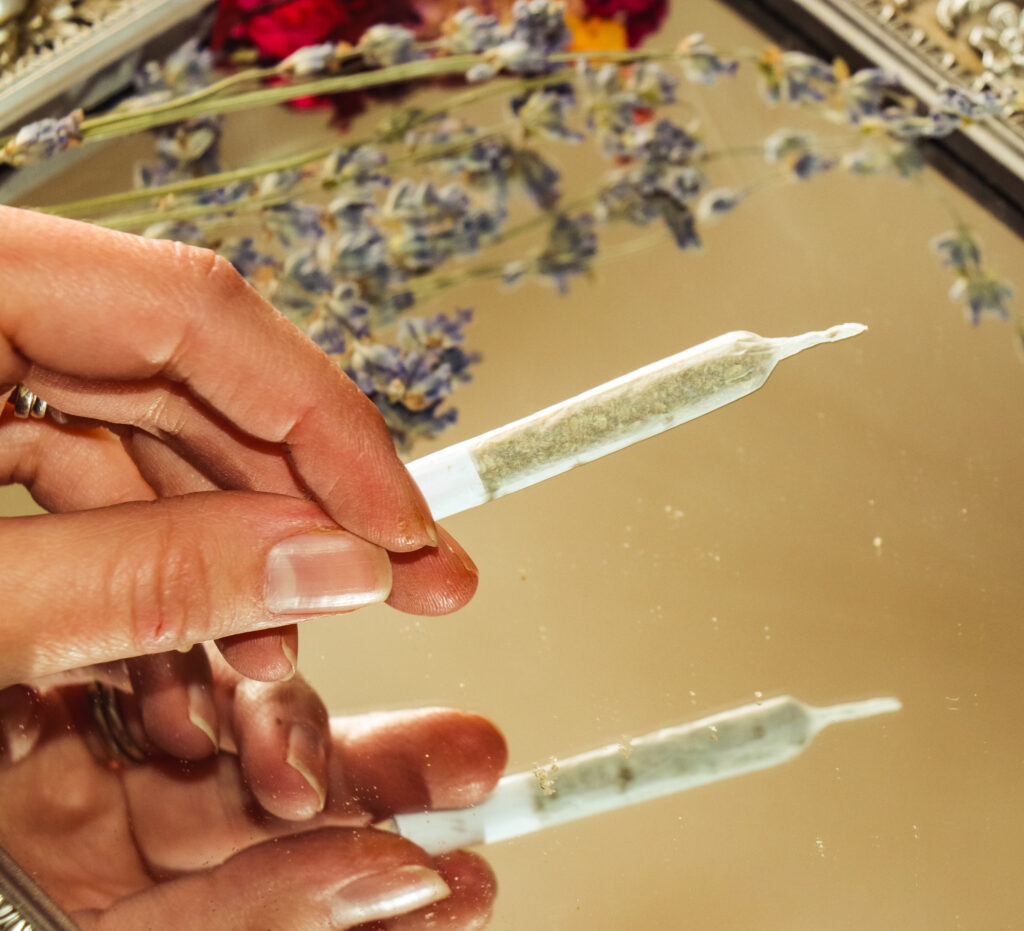
To many, rolling a joint is a ritual which helps to ground them and bring appreciation towards the herb. There are many different styles, shapes and sizes of joints you can roll. For those who struggle, our best advice to you is to get creative and practice, practice, practice!

7 Steps For Joint Rolling
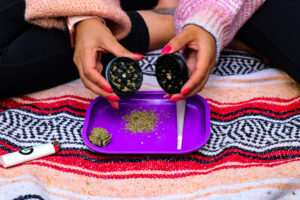
- Grind Your Flower
To help keep the cannabis flower consistent inside your joint, grind down your flower into shake. Make sure to remove any extra seeds and stems.
- Filter
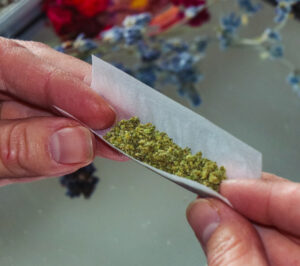
Add a filter to one end of your paper. You can roll your own filter or buy them already rolled for you. - Flower
Fill the remaining space from the filter to the top of your joint with cannabis flower. Once the right amount of cannabis is in the paper you can start to form the joint with your fingers.
- Roll
Pinch the papers between your fingertips and roll it back and forth until it’s in its final joint form. - Seal
Using minimal saliva, lick the glue strip on your paper and press down to secure it. Apply the moisture from the filter end first to help guide the paper as it curves around itself.

- Pack
Add any extra weed to fill your joint through the open end. You may want to use a pokey to lightly press down on the weed to ensure it is filled evenly. - Twist
Twist the open end of your joint until closed. Enjoy Responsibly!